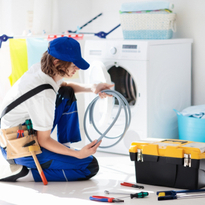
Bit Appliance Repair has specialized in the finest repairing service for over three decades. We go above and above to guarantee that our clients never have a negative experience with us. We strive to assist our clients by putting our decades of appliance knowledge to good use and assisting them in understanding what is going on with their appliances.
When some elements of an appliance are damaged, you can replace them without the assistance of a professional technician. One such part is the drive belt of dryers.
Drive belt:
Drive belts are single continuous belt that spins several other components of an appliance. It's found in clothes washers and dryers.
Indicator:
Figuring out whether the drive belt of your Samsung dryer needs replacement or not is easy.
Dryer does not spin: If you turn on the dryer, but it still does not spin, your drive belt is probably broken. After turning the dryer on, see if it is making the working sound or not. If it is making the working sound, but the spinner is not moving, the drive belt of your dryer needs replacement. Hire Professional Dryer Repair Company in Nassau county and Suffolk
The broken belt switch stops the dryer from working if the belt is broken. The belt switch will detect the broken belt and will be activated when the dryer is turned on, thus stopping the dryer from turning on. This means that even if you turn the dryer with a broken drive belt on, it will not work because of the belt switch.7 Maintenance Tips or Dryer Repair
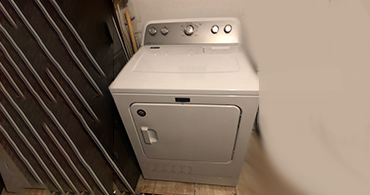
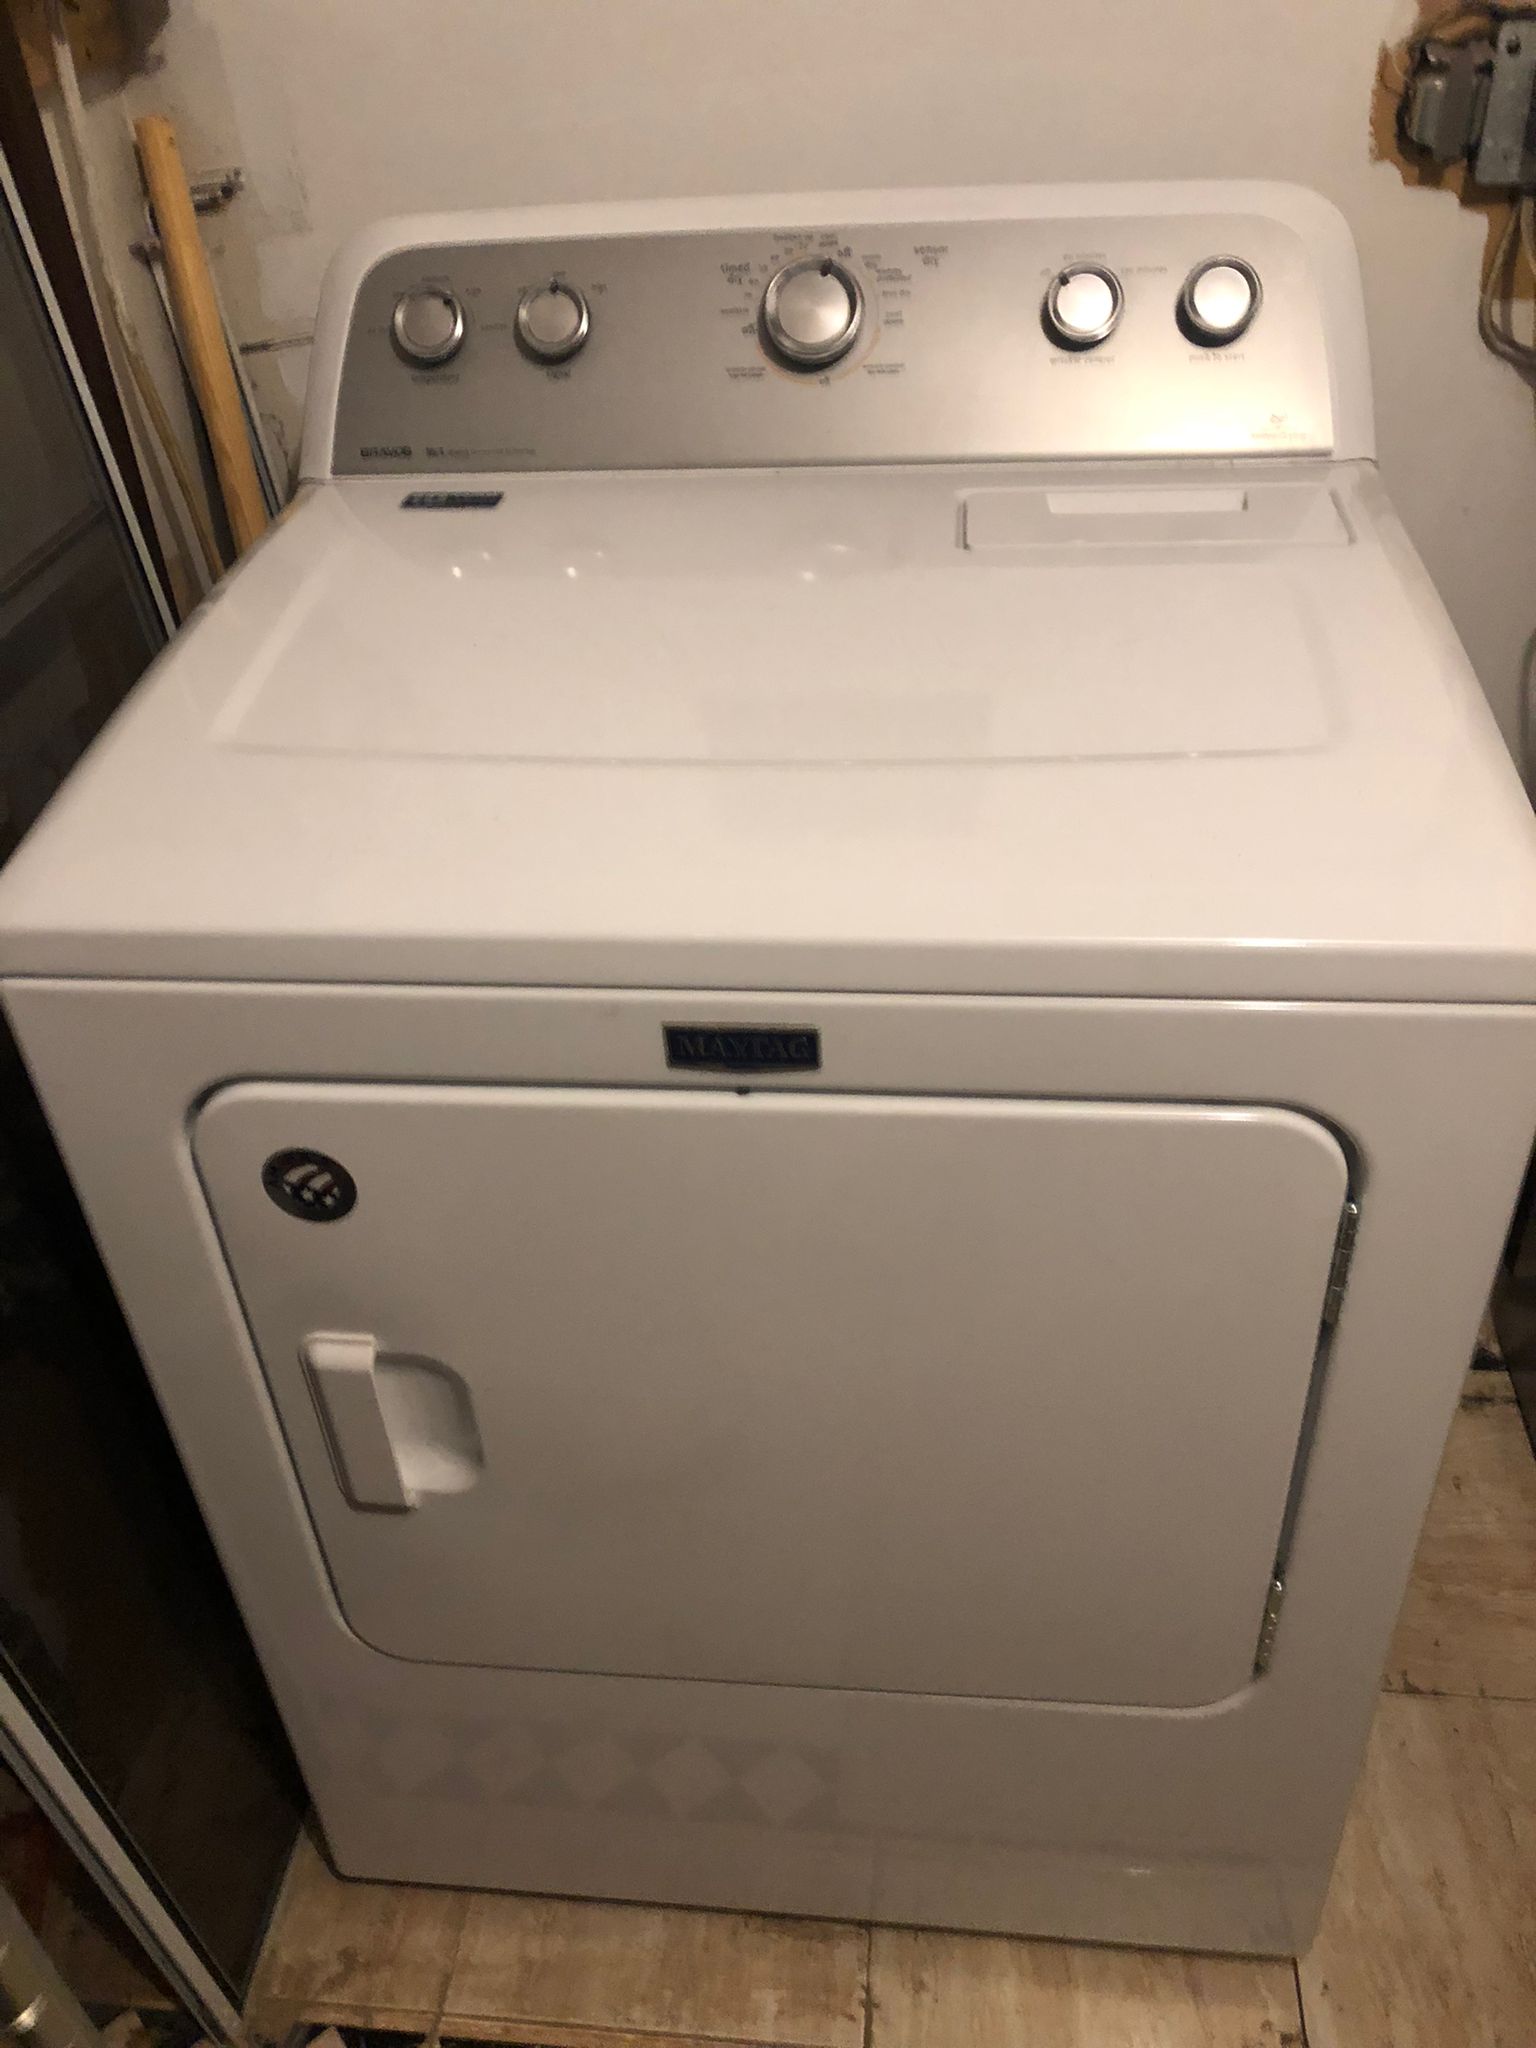
Samsung dryer drive belt repair:
Like in any repair, first, turn off the switch and take the dryer's power cord out to avoid any accidents or electrical shocks.
Two to four screws will secure the dryer's top panel (lid). Open those screws. After unscrewing the top panel, carefully pull it back to detach it from the dryer and lift it off. You will see the drum. See if the belt is present or not. If you make sure that the belt is the issue, proceed to the next step.
The exhaust vent of the dryer will be located on the back. Open the panel by opening the mounting screws with the help of a drill or a basic screwdriver. After removing all the mounting screws, pull the cover back and set it aside. Inside the vent, check the motor pulley and the idler pulley for any sharp edges or cuts that could damage the drive belt. Also, check if they rotate easily or not to ensure they will not harm the new belt.
Once made sure that the idler pulley and motor pulley are not damaged in any way, open the mounting screws on top of the control panel. There will be four to six screws securing the control panel.
Disconnect the two wires connecting the relay board to the control panel. You will secure the relay board with two mounting screws. Open the screws to pull the relay board away from the dryer. Place the relay board back in its place but don�t put the screws back yet.
Now carefully pull the control panel away from the dryer, along with the two wires that you previously disconnected. If there is another connect wire, disconnect it and set the control panel aside.
Open the dryer door and take out all the mounting screws in the front panel. Now remove the screws below the control panel to take the front panel off the dryer. Disconnect the door switch from the front panel and set the front panel aside.
There will be more screws where the control panel previously was, holding a metal shield in its place. Open those screws and undo the shield clips with the drum light wire and the door switch wire. Set the metallic shield aside.
The entire front assembly will have four screws securing it. Open the screws. On the other bottom of the dryer, one screw will secure the metal shield to the plastic blower housing. Open it too. Lift the front of the dryer carefully and set it aside.
While making sure the ribs of the new belt are facing the drum, slide the new belt on the drum. There will be marks from the previous belt showing where the belt goes.
After securing the new belt in its place, carefully put everything back together. First, the front assembly, the metallic shield, the front panel, the wires in the relay board, the control panel, the vent panel, and lastly, the top panel. Screw everything back in its place. Put the plug back in and turn on the switch.
Our services:
Our highly skilled professionals will try their utmost to resolve any appliance-related issue you may be experiencing. We have highly skilled technicians who specialize in washer and dryer repair. We offer services in:
Comments (10)
I was thoroughly impressed by the professionalism and expertise displayed by their team during my recent washer dryer repair service. From the moment I contacted them, their customer service was outstanding, and their technicians were incredibly knowledgeable and efficient. I'm extremely satisfied with the quality of their work and would gladly recommend them to others.
I was thoroughly impressed by the professionalism and expertise displayed by their team during my recent washer dryer repair service. From the moment I contacted them, their customer service was outstanding, and their technicians were incredibly knowledgeable and efficient. I'm extremely satisfied with the quality of their work and would gladly recommend them to others.
I was blown away by the level of professionalism and expertise displayed by their technicians during my recent washer dryer repair service. Not only did they fix the issue quickly and efficiently, but they also provided helpful tips for maintaining my appliances in the future. I'm incredibly impressed and grateful for their excellent service!
Bit Appliance Repair's technicians are skilled and courteous. I'm grateful for their quick washer dryer repair service.
Their washer dryer repair service exceeded all my expectations. Their technicians were professional, courteous, and knowledgeable, and they went above and beyond to ensure that my appliances were working perfectly. I'm incredibly impressed with their level of expertise and would definitely use their services again in the future.
I had a fantastic experience with their washer dryer repair service. From start to finish, their team was courteous, communicative, and skilled. They arrived on time, diagnosed the problem accurately, and completed the repair in a timely manner. I couldn't be happier with the results and would highly recommend them to anyone in need of appliance repair.
I was blown away by the level of professionalism and expertise displayed by their team during my recent washer dryer repair service. Not only did they fix the issue quickly and efficiently, but they also provided helpful tips for maintaining my appliances in the future. I'm incredibly impressed and grateful for their excellent service!
Their washer dryer repair service exceeded all my expectations. Their technicians were professional, courteous, and knowledgeable, and they went above and beyond to ensure that my appliances were working perfectly. I'm incredibly impressed with their level of expertise and would definitely use their services again in the future.
Their washer dryer repair service exceeded all my expectations. Their technicians were professional, courteous, and knowledgeable, and they went above and beyond to ensure that my appliances were working perfectly. I'm incredibly impressed with their level of expertise and would definitely use their services again in the future.
I had a fantastic experience with their washer dryer repair service. From start to finish, their team was courteous, communicative, and skilled. They arrived on time, diagnosed the problem accurately, and completed the repair in a timely manner. I couldn't be happier with the results and would highly recommend them to anyone in need of appliance repair.